Payment Flow
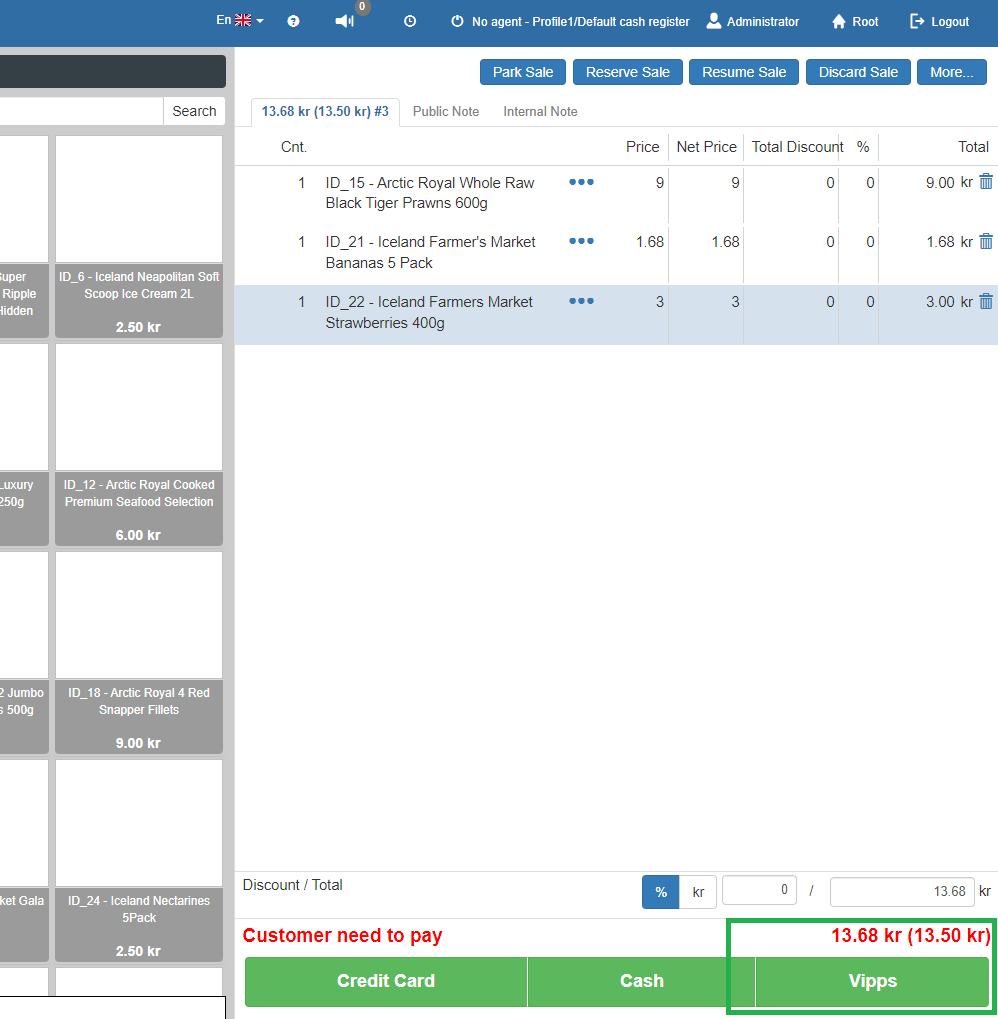
Payment flow will be demonstrated by create sale.
- Go to the New Sale page:
{base address}/pos/app/#/new-sale - Click [Start new sale].
- Add one or more products to the basket.
- Click the [Vipps] button (the payment option created earlier).
Proceed to Payment
- On the payment screen:
- Uncheck the [Email invoice] box (optional)
- Click [Pay]
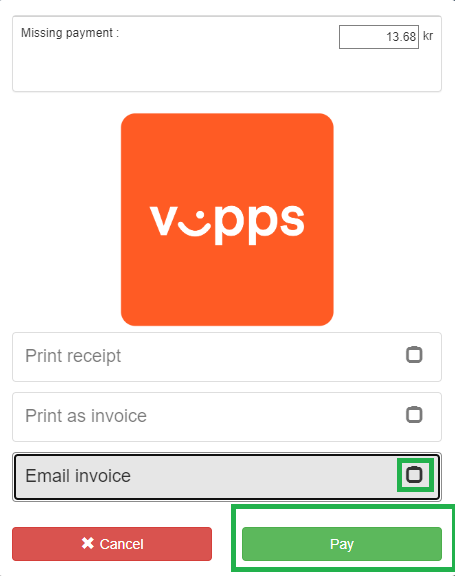
- A Customer Identification dialog will appear.
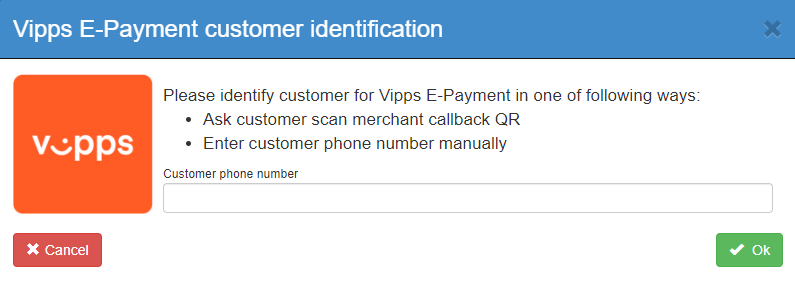
Options
There are two options for identification:
- Manually enter customer phone number
- Scan a merchant callback QR (previously linked to the agent profile)
The dialog will automatically close and initiate the payment process.
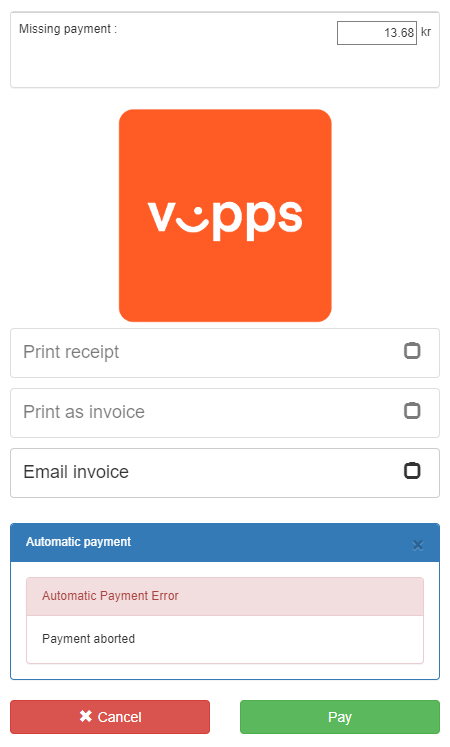
Unhappy Flow (Aborted Payment)
Before the customer approves the payment on their device:
- Press the [Abort] button
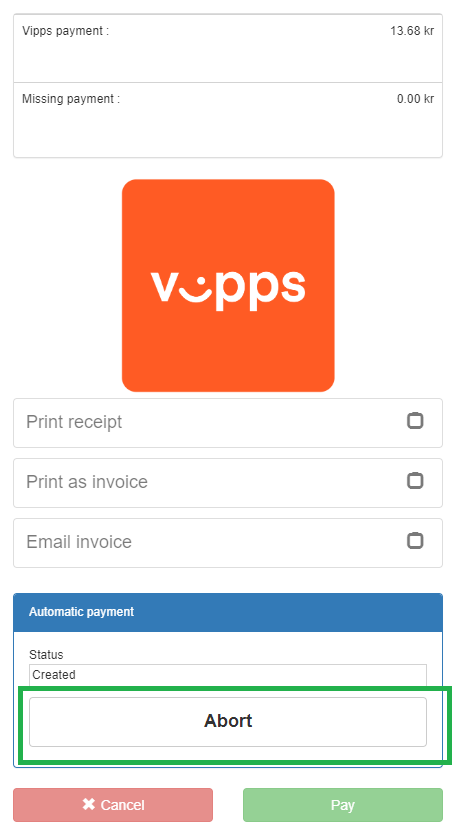
The payment will be aborted.
Happy Flow (Completed Payment)
- The customer receives a push notification from Vipps:
"[Tenant name]: payment for sale [Sale identifier]" - After the customer approves the payment:
- The payment is captured
- If the payment covers the full amount, the sale is completed automatically
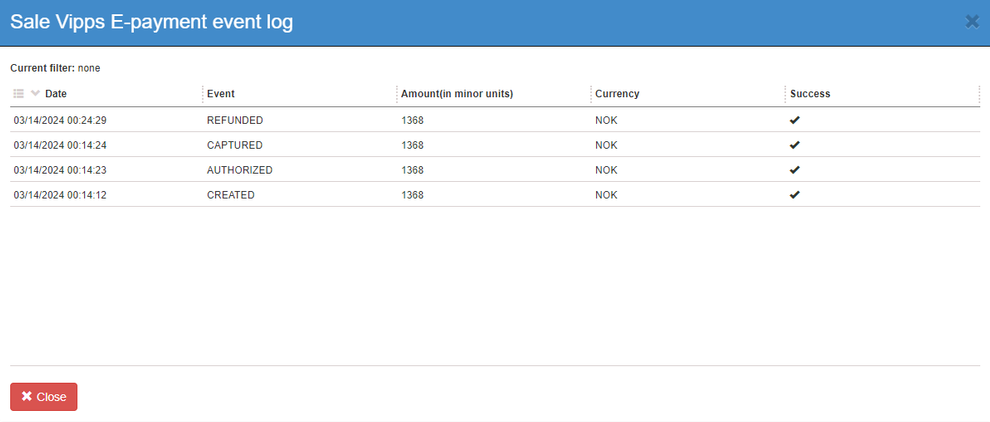
View Payment Event Log
- Go to the Sales page:
{base address}/pos/app/#/processed-sales - Click [View] on the latest sale.

- In the View Sale page:
- Locate the Financial section
- Click the [Log] icon next to the Vipps payment
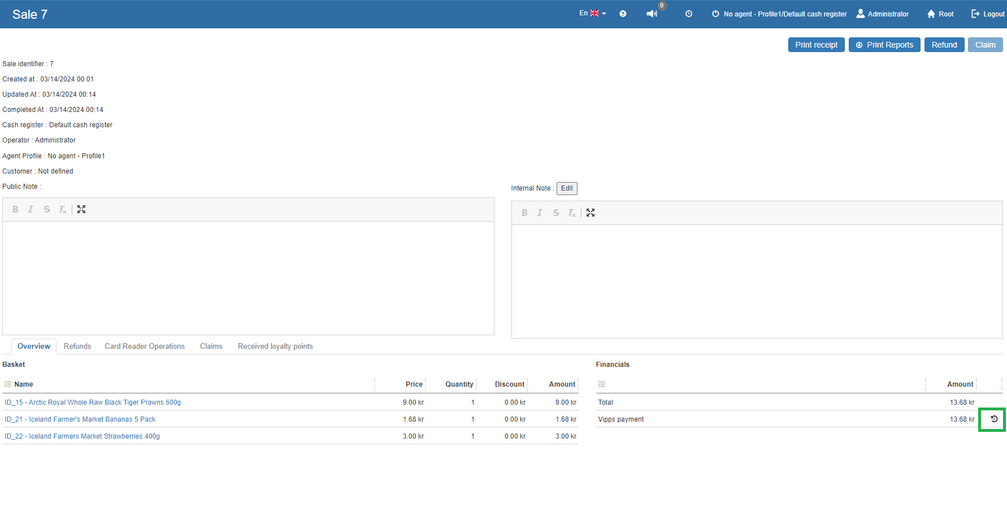
- The Vipps E-Payment Event Log will be displayed.

Refund Payment Flow
- On the View Sale** page, click [Refund].

- In the popup:
- Click [Select all]
- Click [Refund]
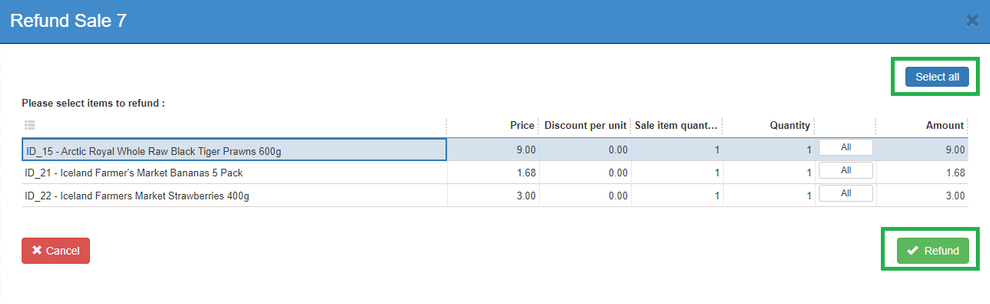
- Return items will be added to the basket.
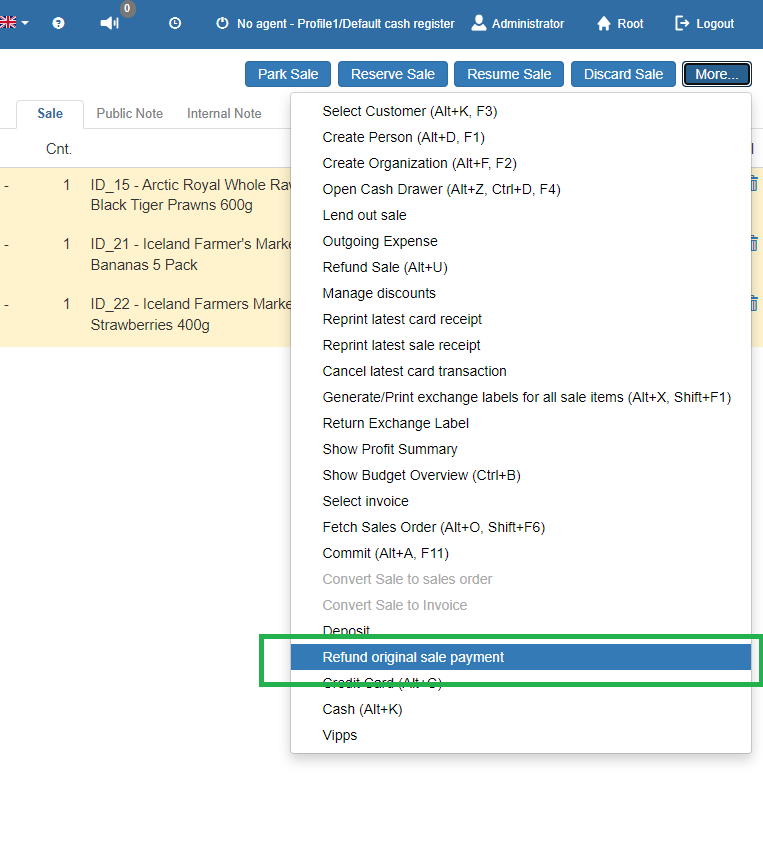
- From the [More] menu, select [Refund original sale payment]
- In the popup:
- Select the payment method
- Set the amount to refund
- Click [Ok]
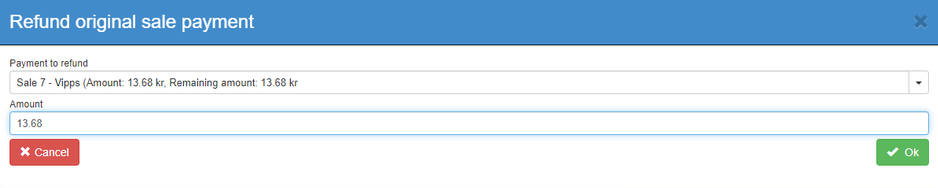
- The refund will be registered.
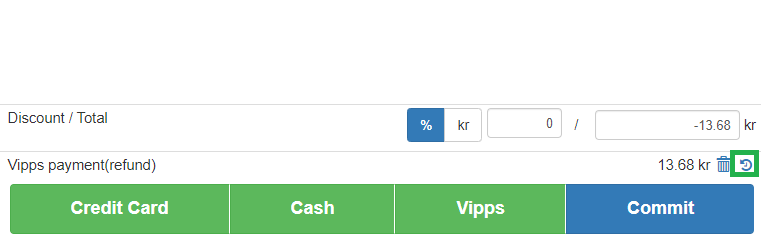
- To view the refund event log, click the [Log] icon again.