POS App
Navigate to the [POS App].
Create Vipps Agreement
- Go to the Vipps Agreements page:
{base address}/pos/app/#/vipps-agreements - Click the [+] button.
- In the editor:
- Enter the display name for the new Vipps agreement.
- Click [Set API Keys].
- Enter the API keys:
client_id,client_secret, andOcp-Apim-Subscription-Key. - Click [Save].
note
API keys are stored encrypted in the database. They won't be visible after saving. If changes are needed later, they must be re-entered.
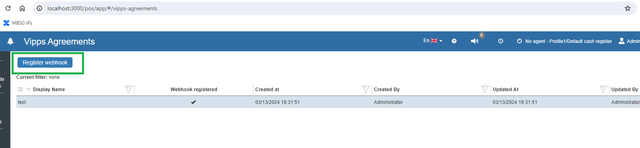
Setup Vipps Agreement Webhook
- While on the Vipps Agreements page, select the Vipps agreement.
- Click the [Register webhook] button.
Create Vipps Sales Unit
- Go to the Vipps Sales Units page:
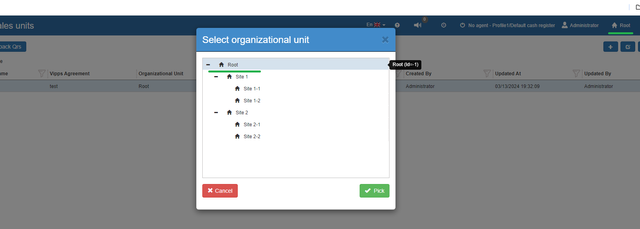
{base address}/pos/app/#/vipps-sales-units - Click the [+] button.
- In the dialog window, select the current organizational unit.
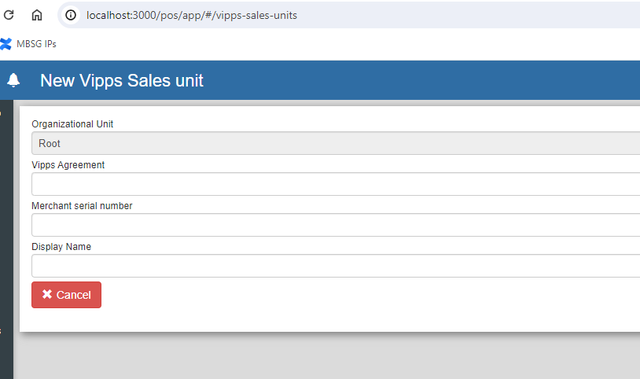
- In the edit window:
- Define the display name for the Vipps Sales Unit.
- Select the Vipps agreement created earlier.
- Enter the Merchant Serial Number for the unit.
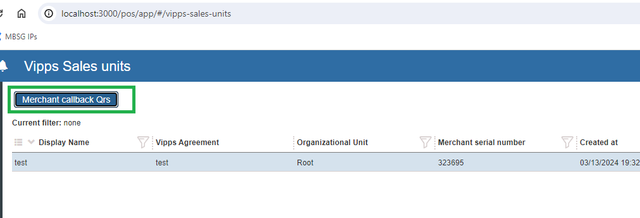
Setup Merchant Callback QRs
- On the Vipps Sales Units page, select a sales unit.
- Click the [Merchant callback QRs] button.
- In the popup:
- Click [Sync with Vipps] to fetch existing webhooks.
- Optionally:
- Create a new Merchant callback QR
- Convert an existing MobilePay QR to a callback QR
- View the QR image

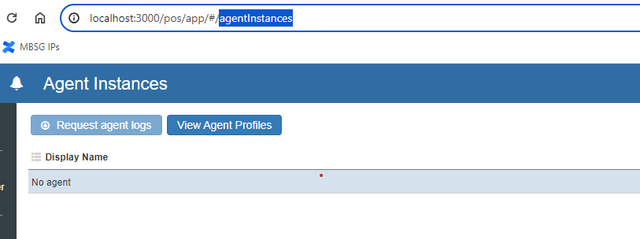
Setup Agent Profile
- Go to the Agent Instances page:
{base address}/pos/app/#/agentInstances - Select an agent (e.g.,
NoAgent) in the grid. - Click [View agent profiles].
- Select a profile and click [Edit].
- In the edit window:
- Choose a Vipps Sales Unit
- Select one of its Merchant callback QRs

- Save changes and assign the updated agent profile to the current session.
